 Flowpaja
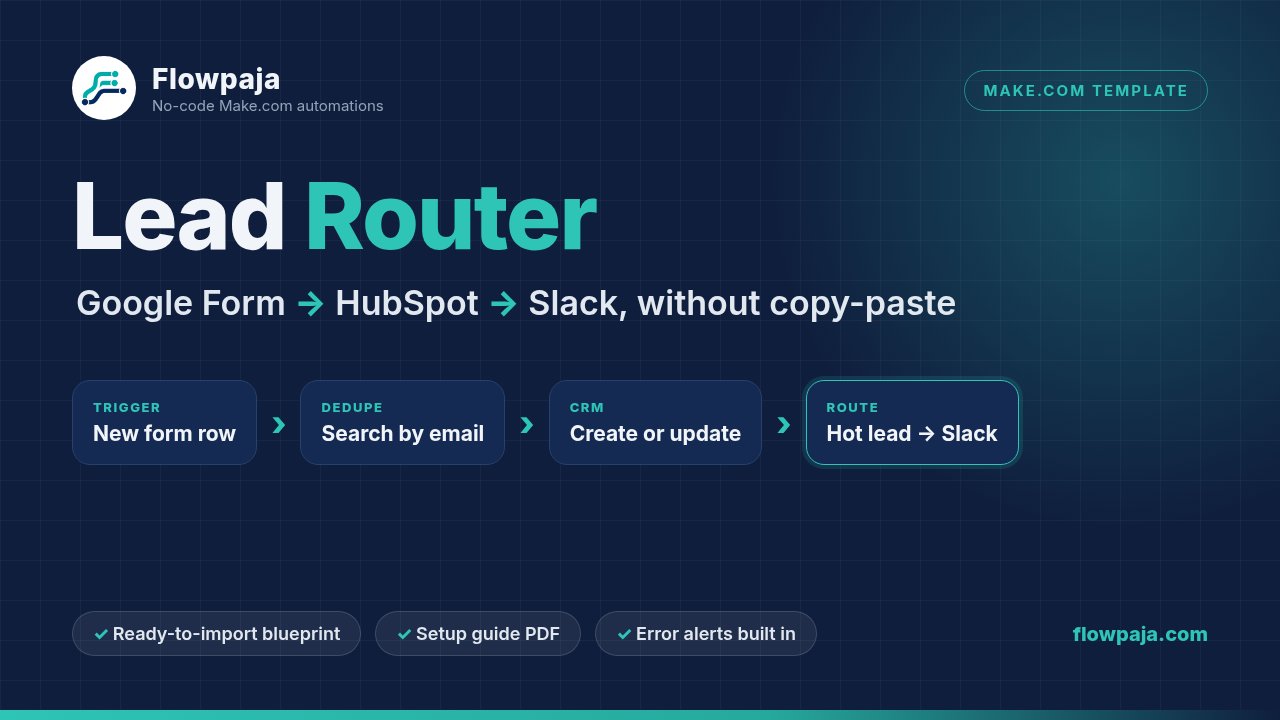
A Google Form is a quick way to collect leads, but copying each response into HubSpot and telling the team in Slack gets old fast, and it’s easy to miss one. With Make.com you can do both automatically: every new response becomes a HubSpot contact, and a message lands in the right Slack channel. This guide explains the build step by step, including the duplicate check and the HubSpot dropdown gotcha that trips up many first attempts. A ready-made template is linked at the end.
What you need
- Make.com. The Free plan works. At the time of writing it includes 1,000 credits a month, 2 active scenarios and a 15-minute minimum interval between scheduled runs (see make.com/pricing). New to Make? Create a free account (affiliate).
- A Google Form linked to a response sheet (in the form: Responses → Link to Sheets).
- HubSpot. The free CRM is enough. You need permission to create contact properties and connect apps.
- Slack. A free workspace works. Some workspace owners restrict app connections, so you may need an admin to allow Make.
How the scenario is laid out
Watch new form responses → HubSpot: Search for Contacts (by email) → Router: new or existing? → Create a Contact / Update a Contact → Router: hot lead? → Slack message
Add an error route on the HubSpot modules so a failed lead posts an alert instead of disappearing.
Step 1: Build the form and pick a trigger
Keep the questions short: full name, work email (use Response validation → Text → Email), company, company size, budget range (multiple choice) and a message. Link the form to a new response sheet.
In Make you have two trigger options. Google Sheets → Watch New Rows on the response tab, or Google Forms → Watch Responses from Make’s current Google Forms app. Both are polling triggers: they check for new responses on your schedule, not instantly. We use the sheet because it doubles as a visible record, and re-processing a single row is easy.
Two sheet rules matter: don’t reorder questions after mapping (columns shift), and don’t delete old rows. Make tracks new rows by position, so hide old rows instead. Right-click the trigger and use Choose where to start → From now on so old responses aren’t imported.
Step 2: Prepare HubSpot properties (and the dropdown gotcha)
Standard fields like Email, First name and Company already exist. For anything else, create custom contact properties in HubSpot (Settings → Data Management → Properties), for example Company size, Lead budget (dropdown) and Lead message.
The gotcha: every HubSpot dropdown option has a visible label and a hidden internal value, and the API expects the internal value. In our test portal the option labelled $10k+ was stored internally as 10k+$, so sending the label failed with [400] Property values were not valid. Open the property, note each internal value, and translate in Make where they differ:
{{switch(1.`5`; "$10k+"; "10k+$"; 1.`5`)}}
That means: if the answer is $10k+, send 10k+$; otherwise send the answer unchanged. 1.`5` is column F of module 1; in the editor you click the field instead of typing it.
Step 3: Search for the contact before creating it
Add HubSpot CRM → Search for Contacts. Use a filter of Email equal to the form’s email, with a limit of 1, and leave the free-text query empty. A free-text search can return a contact that only partly matches, and you’d end up updating the wrong person.
Why search at all? HubSpot uses email to identify contacts and rejects a second contact with the same address, so a plain “create” fails whenever someone submits twice. Searching first lets you update the existing contact instead.
Step 4: Route new vs existing contacts
Add Flow Control → Router with two routes:
- New lead: filter “contact ID from the search does not exist” → Create a Contact.
- Existing contact: filter “contact ID exists and the found email equals the form email (case insensitive)” → Update a Contact, with the contact ID from the search.
Check what your search module does when it finds nothing: if the route stops there, new leads never reach the New lead route. If the module offers an option to continue the route even when there are no results, turn it on, then confirm with a test lead that a brand-new email reaches Create a Contact.
Map the form email to HubSpot’s standard Email property, not a custom “work email” field, or the duplicate check won’t find anything. If you collect a full name in one field, either map it to First name or split it with Make’s text functions.
Step 5: Send hot leads to a different Slack channel
After each create/update module, add a second router. Route one filters on the form answer (Budget equal to $10k+) and posts to #sales-hot. Route two catches everything else and posts to #leads. Filter on the form text, not the HubSpot internal value, so the routing still works if you change the translation formula.
Use Slack → Send a Message with the name, company, budget and email in the text. {{ifempty(1.`5`; "not given")}} keeps blank budgets readable. If the channel is private, the Slack user who connected Make must be a member, or you’ll see channel_not_found or not_in_channel.
Step 6: Don’t let errors disappear
Right-click each HubSpot module → Add error handler. Add a Slack message to #automation-alerts with the error and the lead’s email, followed by a Skip handler (Make’s newer name for “Ignore”) so the rest of the run continues. The failed lead is skipped, not retried. After fixing the cause, you can re-run it: right-click the trigger → Choose where to start → that row, then Run once. Be aware that every row after it is processed again too, so HubSpot contacts are searched and updated again and the team sees those Slack messages a second time. If newer leads have already come in, it’s usually simpler to add the failed lead to HubSpot by hand.
Step 7: Test with fictional leads, then schedule
Keep the scenario off and use Run once after each test submission. Use made-up names and @example.com emails, and cover four cases: a new lead, a $10k+ lead (this checks the dropdown translation), a blank budget, and the same email submitted again (it should update, not duplicate). Wait about 30 seconds before the repeat test, because HubSpot’s search can take a moment to find a new contact.
Credits and schedule: every scheduled check uses 1 credit, even when there are no new responses. Each lead uses about 3 more (search, create or update, Slack). Checking every 15 minutes around the clock is about 2,900 checks a month, too many for the Free plan. Hourly (about 720–744 checks) leaves room for roughly 80 leads a month, and every 2 hours (about 360–372 checks) for roughly 200. The trade-off is speed: with hourly checks, a lead can take up to an hour to reach Slack. Paid Make plans allow shorter intervals.